
By Leslie Shallcross
The calendar indicates that it’s spring, and despite occasional freezing temperatures and lingering patches of snow, the return of extended daylight confirms this change of season.
Last year, a chance meeting with a friend inspired me to adopt a new spring ritual: tapping white birch trees to make fruity, sweet birch syrup. This activity encourages me to get outside, where I can enjoy the longer days, feel the invigorating energy of the season, and connect with the changes that spring brings.
The birch tapping process involves several steps: identifying trees to tap, inserting taps into the trees, collecting the sap in buckets or other suitable containers, daily emptying of the buckets, filtering and storing the sap, removing water from the sap, and then condensing and cooking it gently to thicken and caramelize the sugar. Finally, the sap is jarred for storage. Each step requires careful planning and practice to ensure success and transform the process into a rewarding ritual.
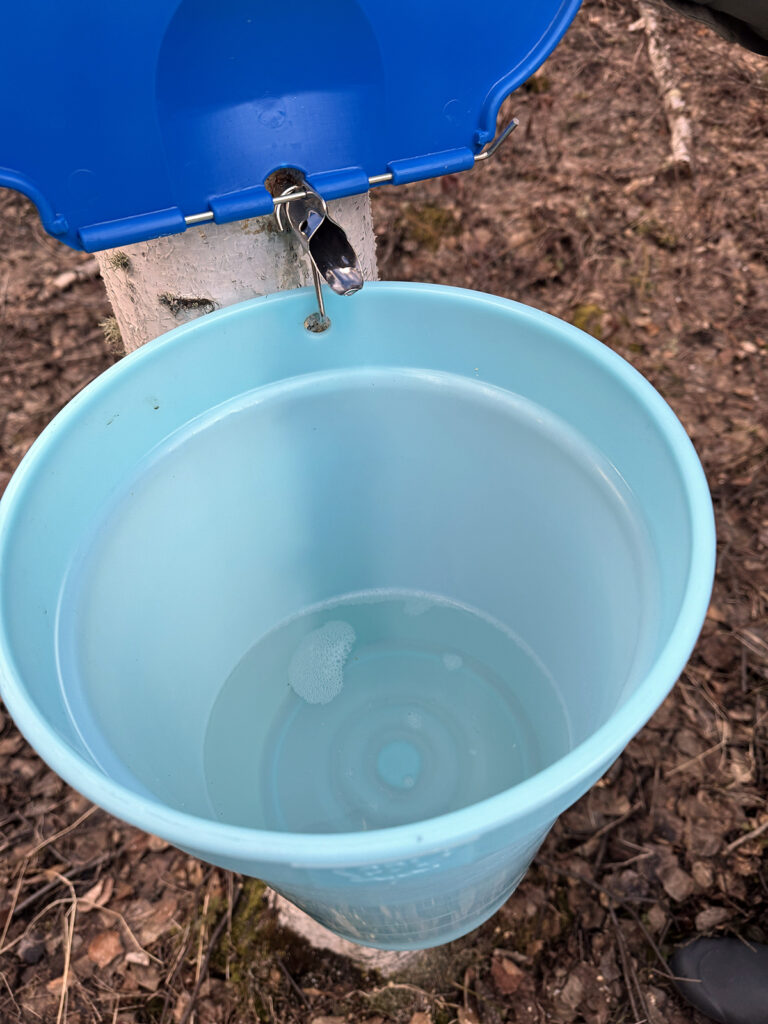
It is best to choose vigorous white birch trees with full-looking crowns and healthy, smooth white bark. The trees should be at least eight inches in diameter and should not be located in areas that have been exposed to pesticides, toxic chemicals, or potential pollutants.
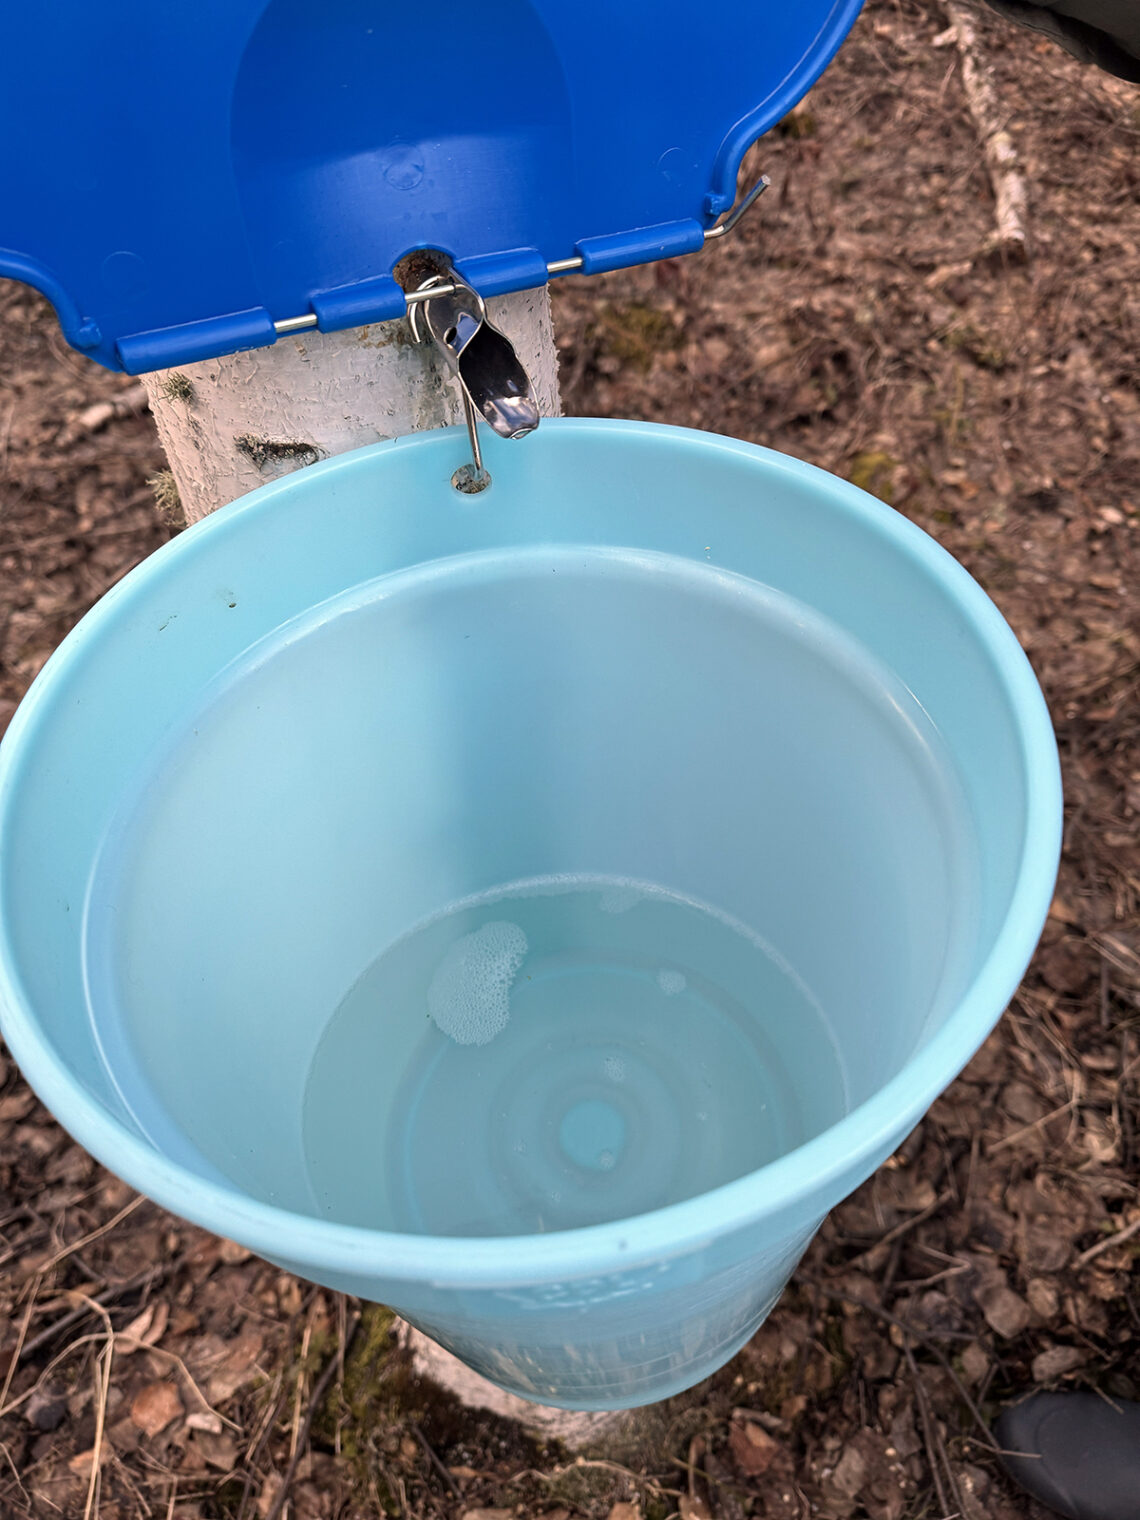
Inserting spiles (taps) requires practice and care. Although I had beginner’s luck last year, I’ve learned from experience how important it is to do it correctly. The spile needs to fit snugly in the hole, and it’s crucial to place the spiles carefully so that the sap doesn’t run out around them. In my initial best-producing tree this year, the hole wasn’t clean and snug, causing the spile to slide out and sap to drip down the side of the tree, which benefited neither the tree nor my project. Thankfully, we tapped a few other generous trees.
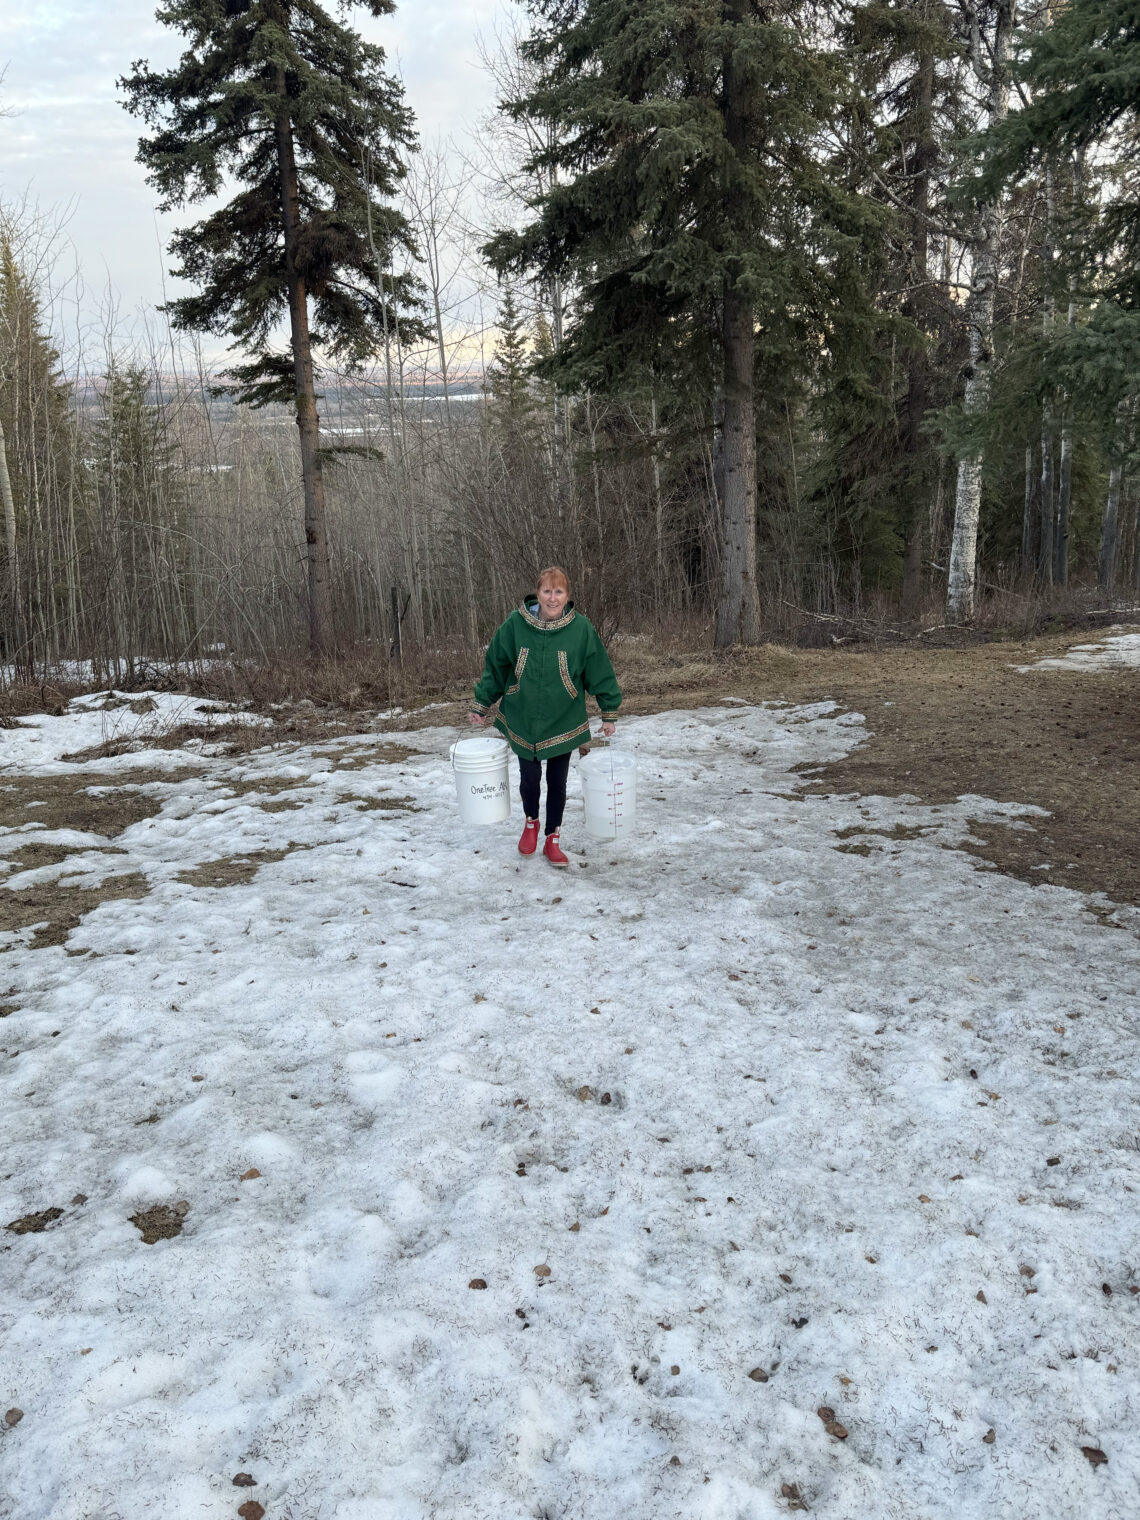
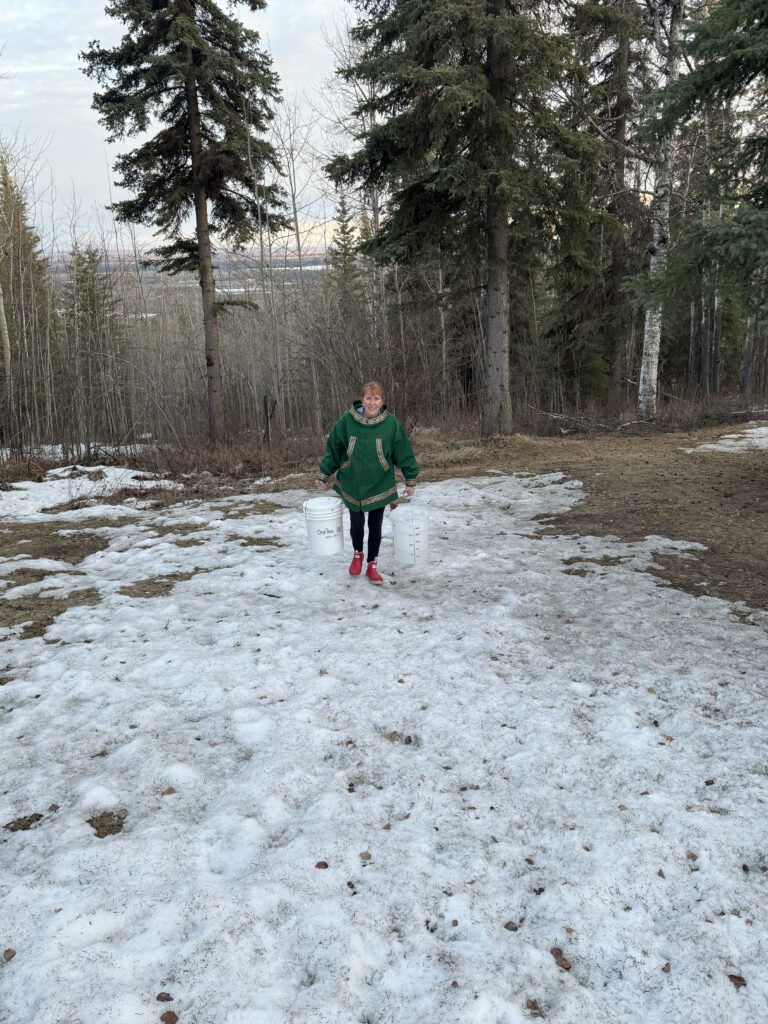
Consider how far you will need to haul the sap, as buckets can get heavy quickly. Make sure to choose a convenient location, and remember that you will likely need to tap several trees to produce syrup efficiently. Hauling sap — especially up or down a hill in Fairbanks — can be strenuous and require considerable effort.
A healthy tree can yield as much as one gallon of sap per day, so have clean containers ready for storing it. Keep the sap cold and out of sunlight until you process it. If the temperature is below 40°F, you can take advantage of nature’s refrigeration instead of overloading your refrigerator. Filter out twigs, bugs and other contaminants.
Many people choose to freeze the filtered sap until they’re ready to make syrup or other products. Be cautious with glass jars, as they can break in the freezer (I learned this the hard way). Food-grade plastic containers are a better option. Make sure to leave an inch or more of space for expansion while freezing. Alternatively, you can partially process the sap by removing one-half to two-thirds of the water, or until it has a slight sweetness, which will reduce the volume for storage. You can take this out of the freezer later for final processing.
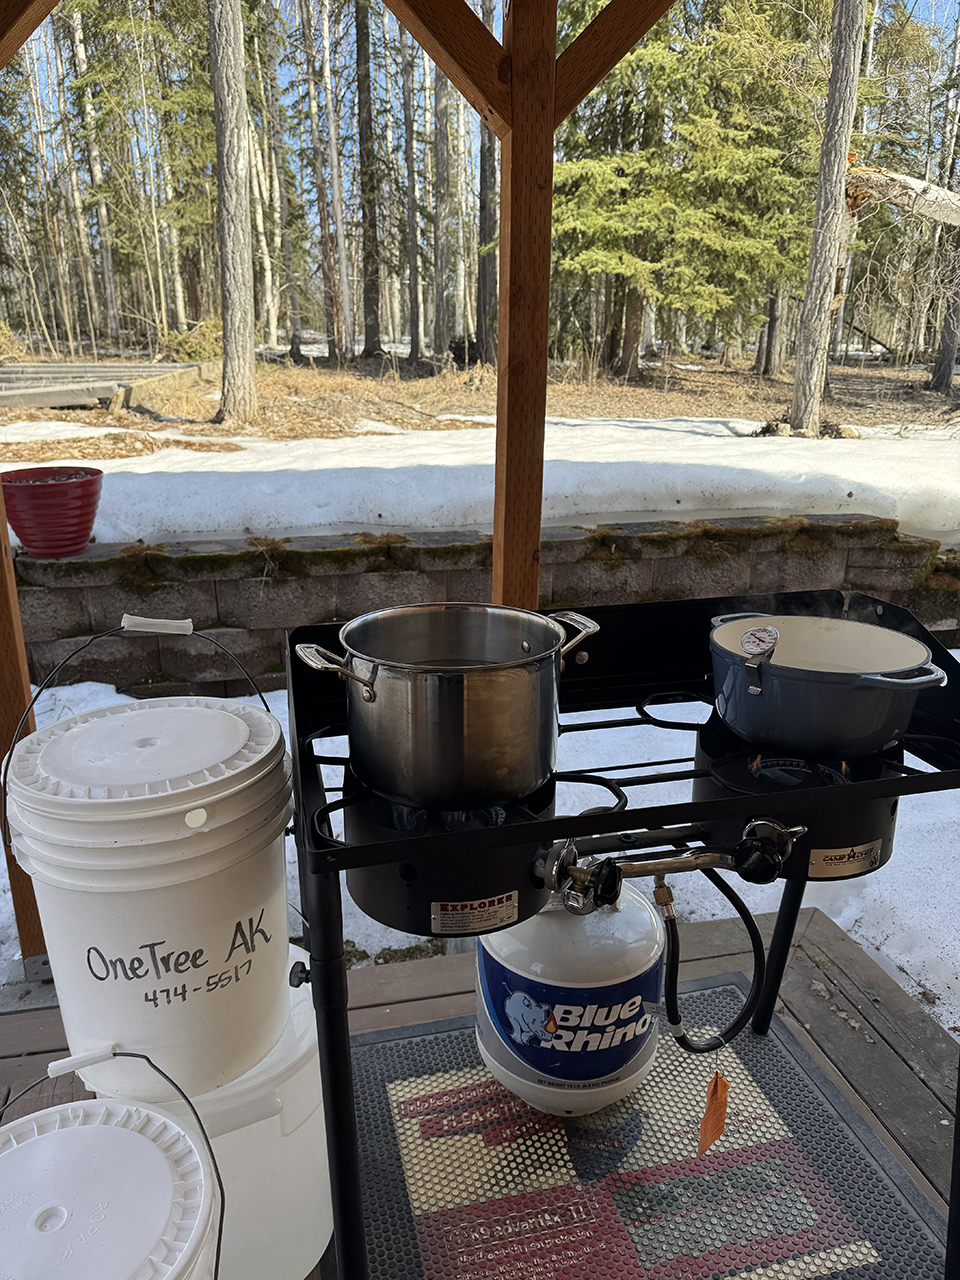
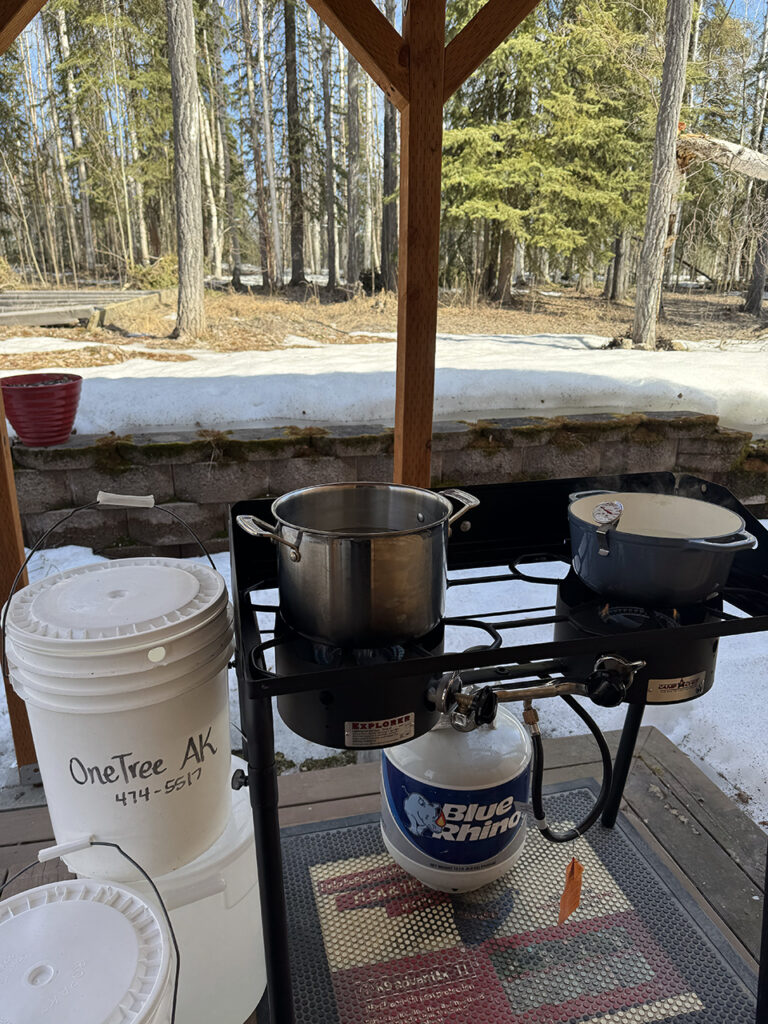
Cooking sap to remove water and concentrate the sugars is best done outside on a propane burner. Last year, I first tried to reduce the sap using crock pots, but they didn’t get hot enough, and the evaporation took several days. I then switched to using my stove, trying to keep the sap at a relatively low temperature. While this worked, I struggled with steam, which caused moisture issues in my house.
This year, I set up a two-burner propane stove outside to handle the initial evaporation and concentration more effectively, bringing the concentrated sap inside to finish on my stove top.
When making syrup, the volume of sap needed can lead you to combine batches of concentrate in a single pot for the final cooking stages. Typically, I start with about 75 to 80 cups of sap using four to five pots. As the liquid reduces and takes on an amber color, I merge the nearly finished syrup into one pot. Different pots will reach the appropriate stage at various rates.
The best pots for cooking sap are heavy-bottomed, enameled pots or high-quality stainless-steel pots with wide mouths. A wider mouth allows for more surface area, which enhances evaporation.
As you heat the sap, you may notice some foam and precipitate in the liquid. You can carefully remove the foam while cooking. Additionally, you can filter the syrup through a coffee filter or a very fine sieve. While some instructions recommend filtering after the syrup is finished, I prefer to do it as I combine batches of the mostly cooked concentrate into the final pot. If you skip filtering, the syrup may have sediment at the bottom of the jar, which is not harmful but might not satisfy perfectionists. In my first year of making syrup, I didn’t filter it at all, and the syrup turned out perfectly, at least according to novices and those hesitant to discourage me.
I must admit that I didn’t read any instructions on making birch syrup last year. I tried to keep the temperature low throughout the process to avoid the deeply molasses-like flavor found in some birch syrup. As a result, I ended up with a very light-colored sweet syrup, but cooking at low heat took days. This year, in discussions with the experts at OneTree Alaska, I learned that starting with higher heat and boiling the sap to reduce the liquid helps caramelize the sugars. This not only contributes to the flavor but also makes the reduction process more efficient.
One important note for beginners, which I learned the hard way with one of my recent batches, is that fructose, the primary sugar in sap, burns more easily than table sugar. It can also form crystals if stirred too much, or if there’s any residue on the sides of the pot that could initiate crystal formation. Avoid stirring the syrup, especially toward the end, as the sugar concentration thickens significantly. Although my batch that contained crystals tastes good and I’ve been assured it will be consumed.
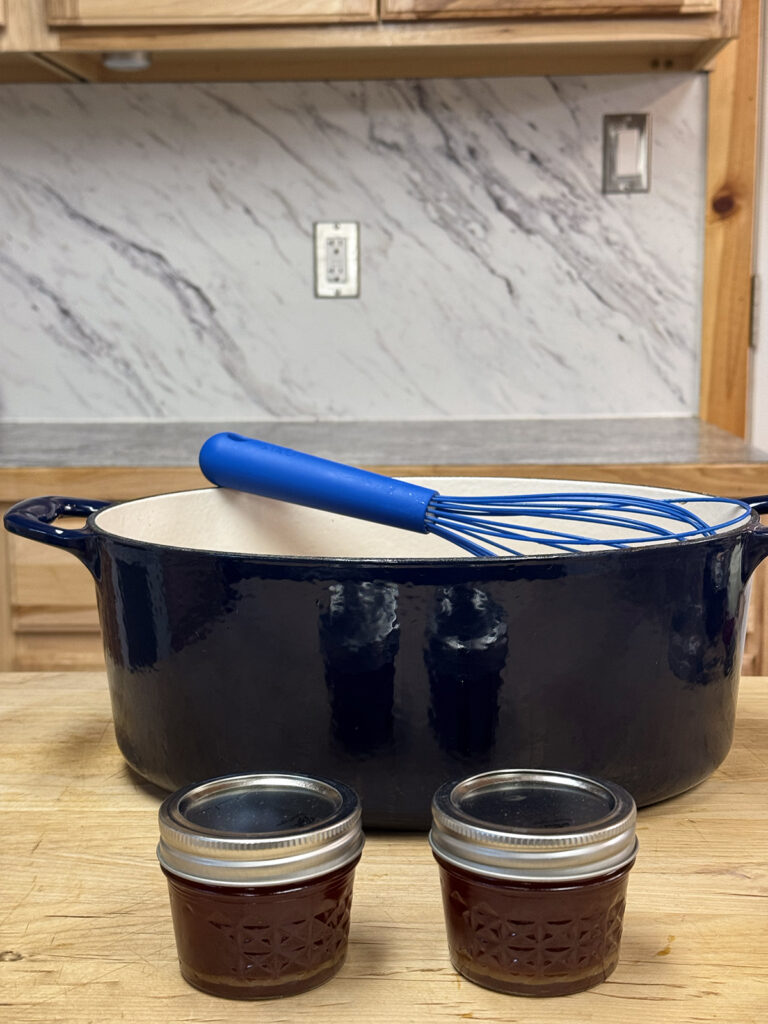
Cooking sap into syrup requires patience, time and care. It also takes getting over the shock of seeing approximately 100 cups of sap reduced to just one cup of syrup. In my first year, I was excited and fortunate to produce five jars of syrup after two weeks of tapping. This year, I’ve increased my production goal and am using half-cup jars so that it looks like more!
As you cook, have several clean, sterilized hot jars and lids ready. Carefully pour your thickened syrup into the jars, leaving about 1/4-inch of headspace, and then secure the lids. If you’ve adequately concentrated the sugar, the syrup will taste very sweet and be visibly thickened. It can keep well without refrigeration for a couple of years if stored in a cool, dark and dry place. Exposure to light can darken the syrup.
I’m not sure if two years of doing this qualifies as a ritual, but I’m already thinking about next year and planning my sap concentration experiments. This year, I’ve seen pussy willows, heard my first robin, and watched the red-purple birch buds preparing to open. I’ve also enjoyed the scents of soil, old leaves, spruce trees, and the sweet caramel from my concentrated sap. I definitely feel rejuvenated, even if I’m also a bit tired. Here’s to the power of a spring ritual.
For more details about tapping birch trees and making syrup, contact OneTree Alaska or read the UAF Cooperative Extension’s publication “Backyard Birch Tapping & Syrup Basics.”
Leslie Shallcross is a registered dietitian and the Tanana District health, home and family development agent for Cooperative Extension Service, a part of the University of Alaska Fairbanks, working in cooperation with the U.S. Department of Agriculture. She can be reached at 907-474-2426 or lashallcross@alaska.edu.
